One room challenge is a biannual event hosted by BetterhomesandGardens as a community based design challenge for all nationwide designers where all the participants have to finish a room makeover within 6 to 8 weeks and share weekly updates. This is not a competition but just a friendly way of expressing your design talent and showcase yourself. It was such a great pleasure to participate in this challenge and showcase our design talent.
For this Fall, I wanted to take up our builder grade guest bathroom and remodel it within lowest price as possible. I wanted to showcase how we can transform a space with budget friendly options and still give it a designer look.
So I have prepared two mood boards for this space and would like to make it a fun poll with my followers to choose the mood board they like. so lets begin!!
This is the space I will be working on for this One room challenge!

Moodboard Choices:
Fun and bold wallpaper with plywood wall panel and would be adding in some fluted cabinet feature to my existing cabinets and adorn the space with some fun accents.
Choice1:

Choice2:

So from the above 2 choices, most of my viewers picked option1 which is my fav, so going ahead with that plan. I have taken the wallpaper from a vendor called @xwallcolors(Instagram profile) on etsy. sharing the link for wallpaper.
This wallpaper I have chosen is a Vinyl wallpaper which is water resistant and is perfect for bathroom spaces. It does not get damaged with moisture and is also a peel and stick wallpaper which makes it super easy to install.

PREPARE THE WALLS:
First and foremost step before working on any remodel project is to prepare your walls for the change and fix all the imperfections. We first started off taking away all the accessories like mirror, lighting, tissue paper holders and fixed the wall holes with using drywall patch kit from home depot.

INSTALL WALLPAPER
Since this is a peel and stick wallpaper, it pretty easy to install. The only thing we need to take care is to make sure you are aligning the end of the wallpaper to the wall correctly and peel just a few inches down and stick the first part correctly aligned to the ceiling. Once we get this part right, the rest of the wall gets very easy.
Once we get the first part right, all we need to do is fold the backing of the wallpaper on the other side and start pulling it down inch by inch and paste the wallpaper by scrubbing over it.
Check my below video for detailed instruction on installing it.
CABINET MAKEOVER
I had some left over trim that I used in my previous ORC – checkout my ORC Spring 2021 post if you have missed it. I got the trims from home depot. so I used this trim to overlay my existing cabinet and the side walls to add texture.

PAINT and STAIN:
I have used the BEHR Black mocha paint on my walls and on the trim on walls. Click the image to know the type, brand nd sheen selection I have made for this paint.

We started painting the side walls with the color.
For the cabinets I have used Varathene stain from home depot and the shade is Cherry Classic wood interior stain.

ACCESSORIES
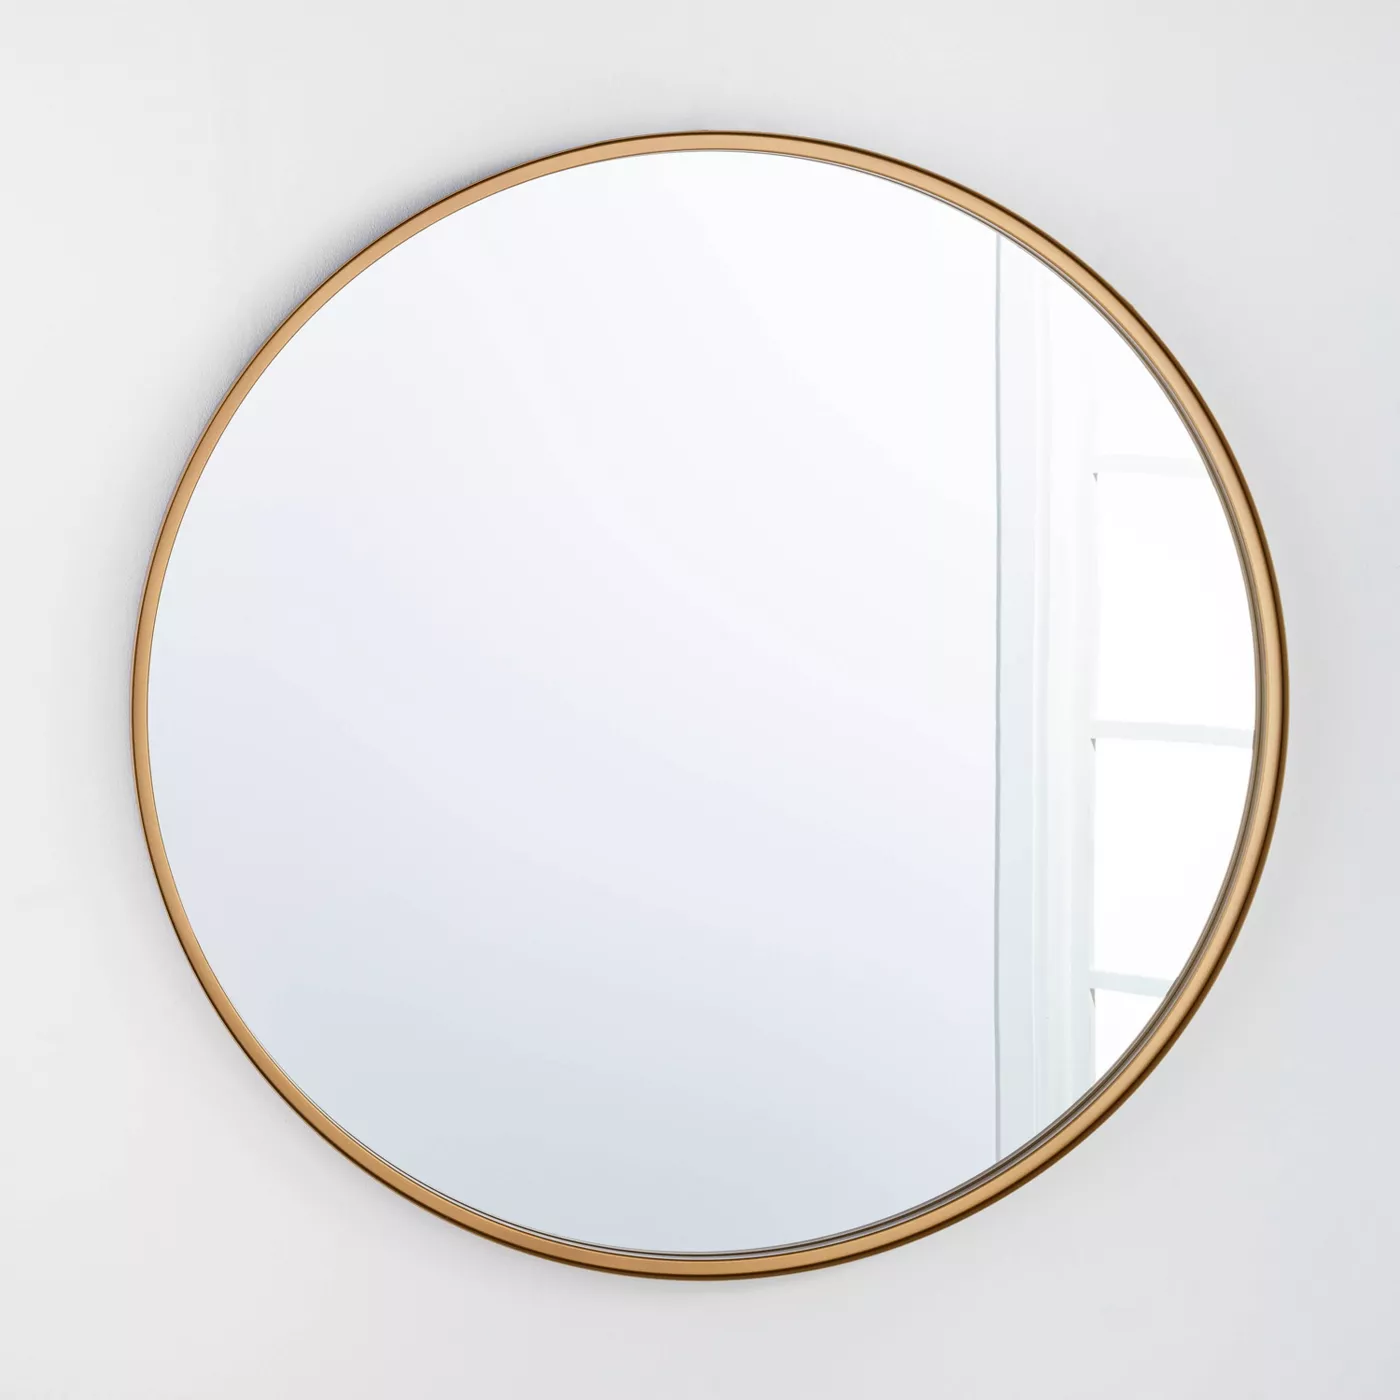
So that’s all what we did to our bathroom, just added a wallpaper, added some left over trim and painted the walls and stained the cabinet. But without changing the accessories, you wouldn’t see an impact in the change. Decor and accessories play a major role in remodels, so do make a point to change them when you are planning to remodel a space. In this space, I am listing down all the accessories I have changed with the source links
Installing all these finishes took a day for us, Faucet installation was quite a bit of a task but we barely managed it. we still have to fix the drain that came with it. Fixing drain is a lil tricky to have any leaks and make it leakproof. So we decided we will have a plumber do that job for us.

Final Touches
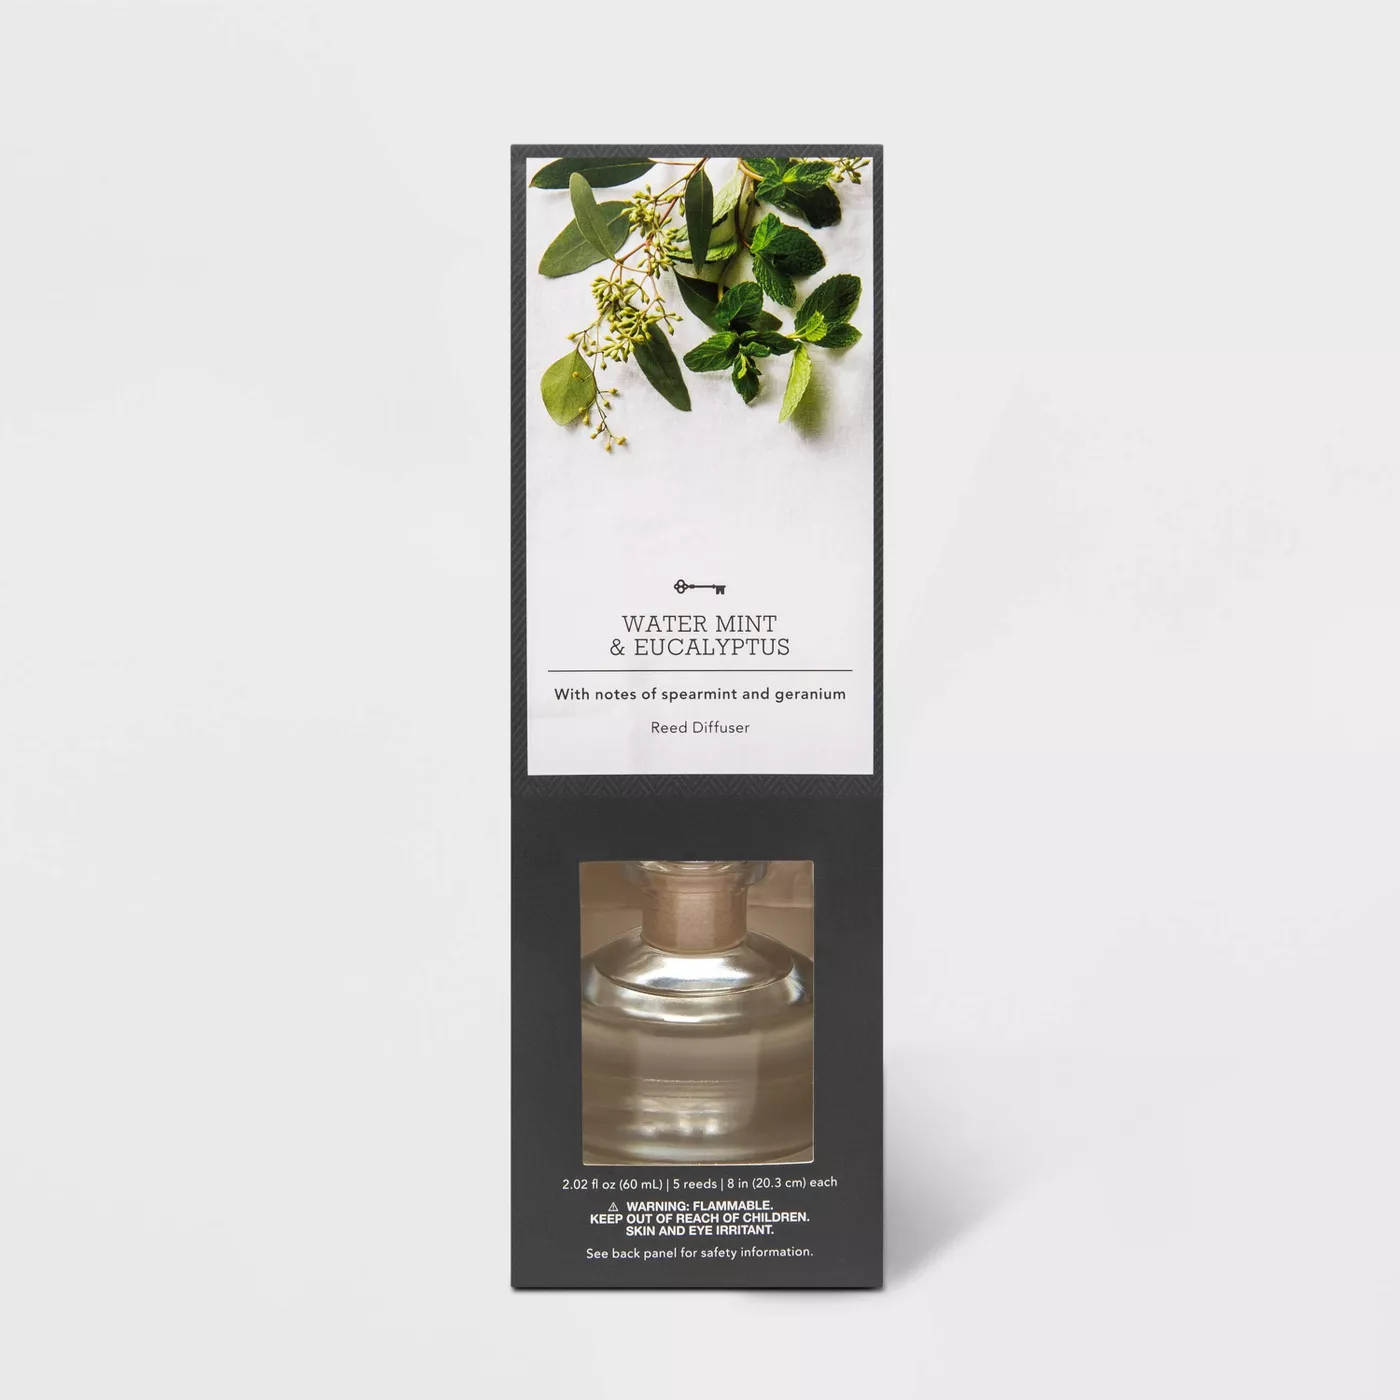
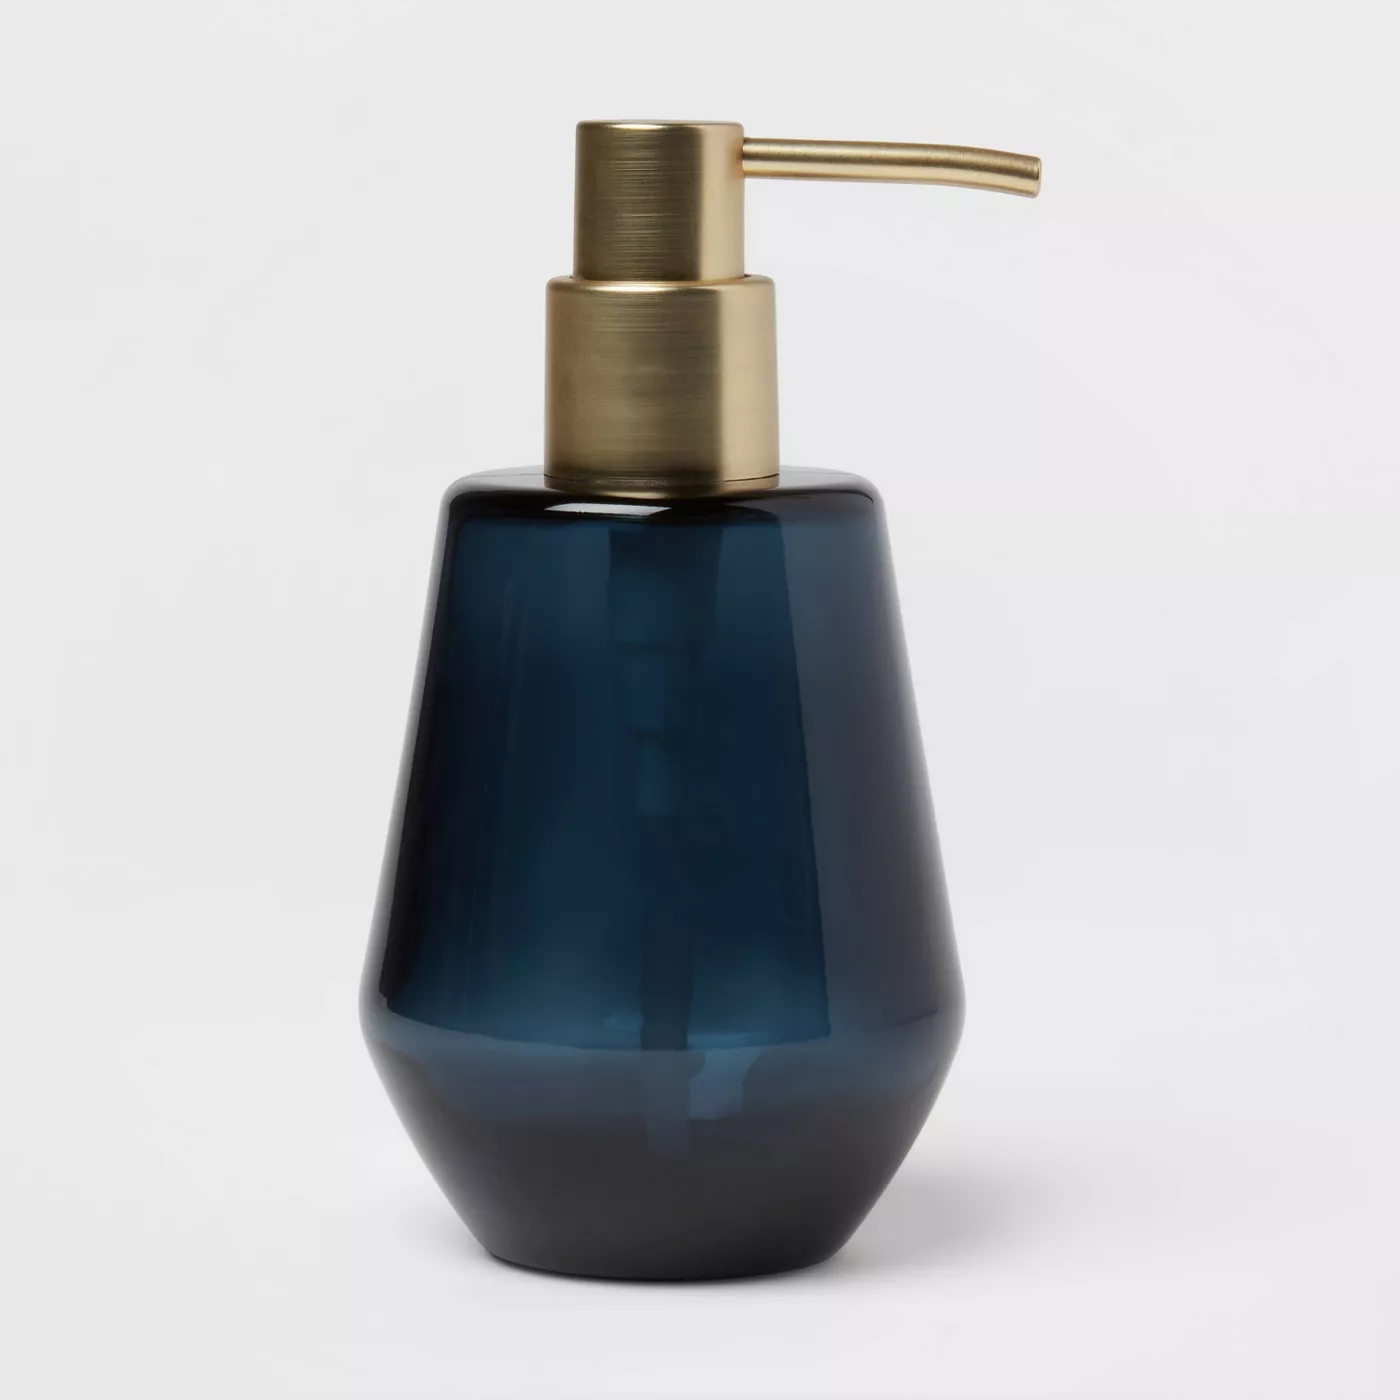
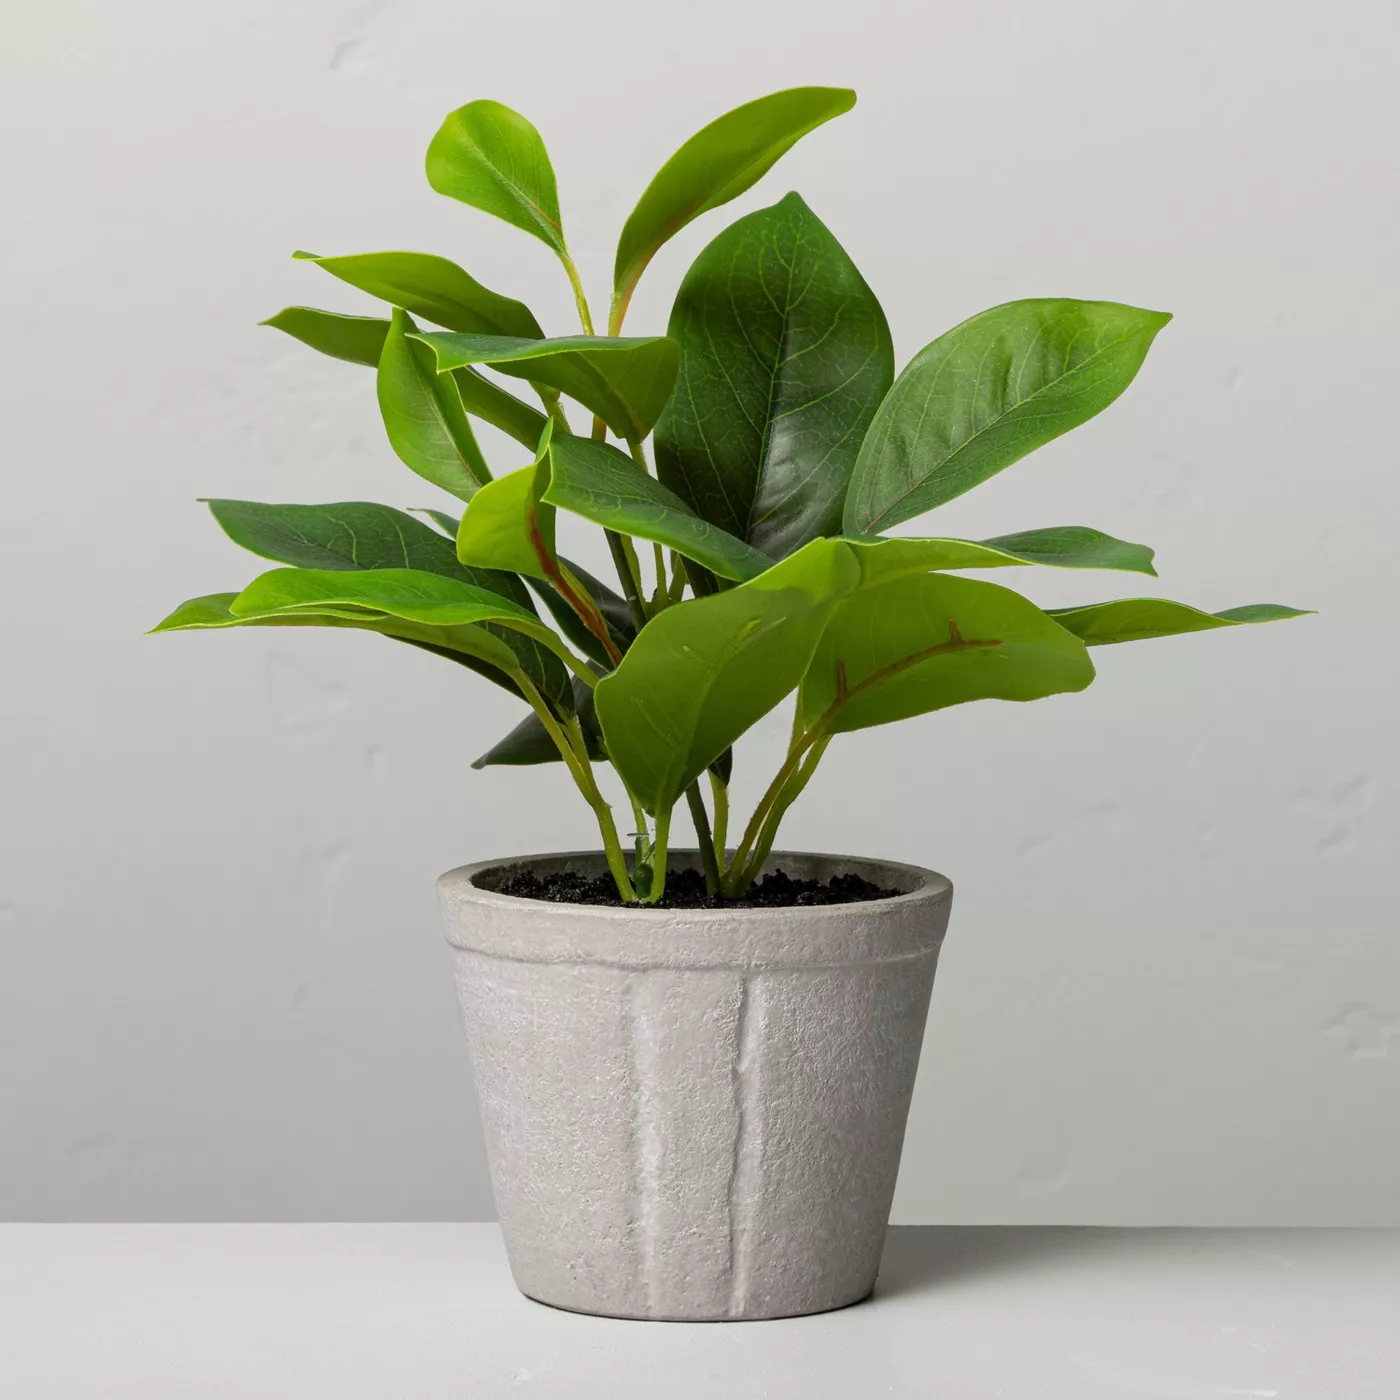
Last but not the least the accent decor is a must to add in any space. I have added minimal and functional accent decor that is just required in a bathroom.
Checkout my complete video on clear instructions.
THE GRAND REVEAL
And here comes the final reveal of the bathroom space.
It was indeed a great experience of finishing this space in a week and staying within budget of 500$. If you are planning for a budget remodel, you can checkout my space and get Inspired!!!!
Here is the full breakdown of my expenses:
| Bathroom Expense list | Cost |
|---|---|
| Wallpaper | 120 |
| Paint | 30 |
| Stain Already had it | 0 |
| Wood trim from leftovers | 0 |
| Faucet | 125 |
| Light | 100 |
| Mirror | 59 |
| Cabinet pull Bar | 17 |
| Small cabinet pulls | 14 |
| Toilet paper holder | 30 |
| Décor – I already had them | 0 |
| TOTAL | 495 |
| Candle | 7 |
| Diffuser | 10 |
| Soap dispenser | 10 |
| 522 |
Dont forget to checkout the beautiful transformations by the featured designers.
ONE ROOM CHALLENGE® FEATURED DESIGNERS

Albie Knows| At Home with Savvy | Beth Diana Smith | Eclectic Twist| Erika Ward Interiors
From House to Home| G. Lebron Interiors | Goldalamode | Home Made by Carmona| Impeccable Nest
Jeweled Interiors| Joyful Designs Studio| Joy Street Design | Our Fifth House| Peony & Honey
Pinch Plate Party | Rebecca Propes | Reem’s Design | Saudah Saleem Interiors | Whitney J Decor






Looking forward to seeing how it comes together 🙂
Have been busy with festive, should start on it this week 😛